
Welcome to Canada. Moving to a new country is exciting, but it can also be really stressful. You’ve got jet lag, unpacking, and finding your way around a new city to deal with. Managing your money isn’t usually top of mind.
The truth is, what you do with your finances in your first 30 days sets the stage for your whole life in Canada. If you put off opening the right bank accounts or getting your tax papers, things can get really complicated later.
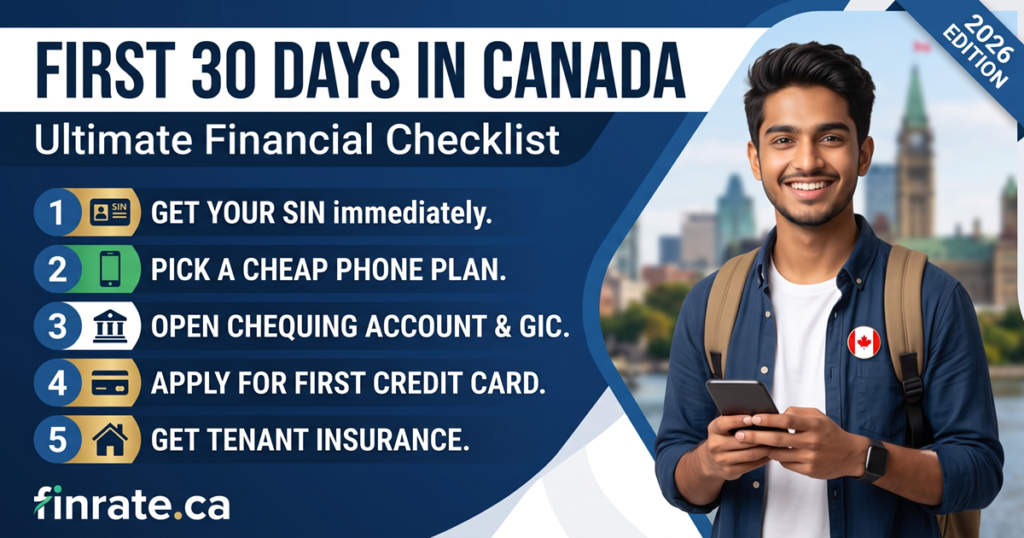
Don’t worry, you don’t have to figure it all out by yourself. We’ve put together a simple financial checklist for international students and newcomers. Let’s get your finances on track.
Step 1: Get Your Social Insurance Number Right Away
Before you do anything else, you need to get your Social Insurance Number.
Why is a Social Insurance Number so Important?
Your Social Insurance Number (SIN) is a 9-digit number given by the government. It’s like your master key to the Canadian system. You can’t legally work in Canada without it. You also need it to open specific bank accounts, build credit, and file your taxes.
How to Apply
Many students try to get their Social Insurance Number at the airport when they land. The lines can be really long when you’re already tired from your flight.
A better way is to rest, unpack, and then visit a Service Canada office near your new home a day or two later. Just bring your passport and Study Permit or Work Permit. They’ll give you your Social Insurance Number on a piece of paper in under 20 minutes.
Important: Your Social Insurance Number is highly confidential. Don’t share it on phone calls, texts, or random websites. Scammers might pretend to be from the police or government. Only share it with your employer (after you are hired) and your bank.
Step 2: Pick a Cheap Canadian Phone Plan
Your smartphone is really important. You need a Canadian phone number to open a bank account, sign a lease for your room, and put on your resume when you are applying for part-time jobs.
Why you should avoid airport phone kiosks
When you walk out of the airport, you will see booths selling SIM cards. Just walk past them. These booths usually sell expensive plans that are meant for travelers who are tired and do not know any better. These plans can cost you $80 or more per month. Wait until you get to your neighborhood and get settled. You can use the free Wi-Fi at the airport and on your transit ride to stay connected for now.
Best affordable providers for students
Canada has some of the most expensive mobile data rates in the world. To save money, do not go directly to the main networks like Rogers, Bell, and Telus. Instead, go to their discount brands like Fido, Koodo, or Public Mobile.
If you brought your unlocked phone from your home country, you can get a “Bring Your Own Device” plan. These plans usually cost around $35 to $40 a month and give you a lot of 4G or 5G data.
Money-Saving Tip: Always ask the store representative for Student Promotions. During the months of August and September, when students are going back to school, companies offer massive discounts and data bonuses. Just show them your college offer letter or student ID.
Step 3: Open Your Chequing Account & Claim Your GIC
Now that you have your Social Insurance Number and a Canadian phone number, you are ready to set up your banking.
Choosing a zero-fee student bank account
As a student, you should never pay monthly banking fees. Banks like Scotiabank, CIBC, BMO, and TD all offer free Student Chequing Accounts. These accounts give you a free debit card, unlimited transactions, and free e-Transfers to send money to your friends or landlord.
How to unlock your GIC payments
If you applied for your visa through the Student Direct Stream (SDS) program, you already paid for a Guaranteed Investment Certificate (GIC). Right now, that money is locked in Canada.
To get your money, you need to visit a branch of the bank where you bought your GIC. You can book an appointment online or just walk in. Bring your Passport, your Study Permit, and the GIC Welcome Letter.
The bank teller will check your identity, activate your chequing account, and give you your first payment. They will also set up an automatic transfer so that your remaining GIC money goes directly into your account every month.
Step 4: Apply for Your First Student Credit Card
When you were back in your home country, you might have learned to stay away from credit cards. In Canada, it is completely different. You actually need a credit card to manage your money and build trust.
Why is it so important to build a credit score?
Canada uses a credit score system, which is like a report card for your money. When you want to buy a car or rent a place to live, banks and landlords will check your credit score to see if they can trust you. The easiest way to get a good credit score is by using a credit card in a responsible way.
How can you start using a credit card safely?
When you go to the bank to get your GIC from Step 3, tell them you also want to apply for a Student Credit Card. Since you are a student, they will usually say yes to a card with a $500 or $1,000 limit, even if you do not have a job yet.
Make sure the card does not have any annual fees. To build your credit score safely, just use the card for small things like groceries or a bus pass, and pay the whole bill every single month before it is due.
(You might be wondering which card is the best. You can check out our complete guide on the Best Student Credit Cards in Canada.)
Step 5: Get Tenant Insurance if you are renting a place
If you are renting a basement or an apartment off-campus, your landlord will likely ask you for Tenant Insurance before giving you the keys.
Do you really need Tenant Insurance?
Yes, you do. Your landlord’s insurance only covers the building itself. If something bad happens, like a fire, a flooded pipe, or a break-in, your landlord’s insurance will not pay for your stolen laptop, furniture, or clothes.
Tenant insurance protects all your personal things. It also helps you legally if you accidentally damage the apartment. The good news is that it is very cheap for students, usually just $15 to $30 a month. You can easily buy it online from companies like Square One or Sonnet.
Frequently Asked Questions
How much cash should you bring to Canada?
You do not need to bring a massive amount of cash. Bringing $500 to $1,000 CAD is more than enough for your first few days. Most places in Canada accept card payments, and your GIC money will be available very soon after you arrive.
Can you start working before your college classes begin?
No, you cannot. This is a huge mistake many international students make. According to the rules, you are legally not allowed to work a single hour until your study program has officially started. Working before that is against the law and can get you deported. Use your first few weeks to settle in, explore the city, and finish this checklist.
Do you need to pay taxes in your first 30 days?
No, you do not. You file your Canadian taxes once a year (usually in March or April) for the money you earned the previous year. You do not need to worry about filing tax returns during your first month.
Welcome to Canada!
If you complete these 5 steps in your first month, you will be far ahead of most newcomers. You now have a solid financial foundation. If you want to learn more, you can check out our other guides on Finrate.ca to make the most out of your time in Canada.
